This time is information for Streamers
Have you ever thought “ I’m lonely on the screen” or “ I want to decorate it like an illustration that moves like Vtubers” while streaming live games and chats ?
I’ve been wondering for a long time if there’s any easy way to make such a decoration …
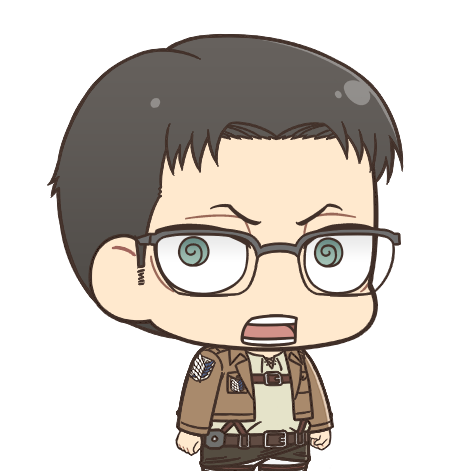
I found a breakthrough!
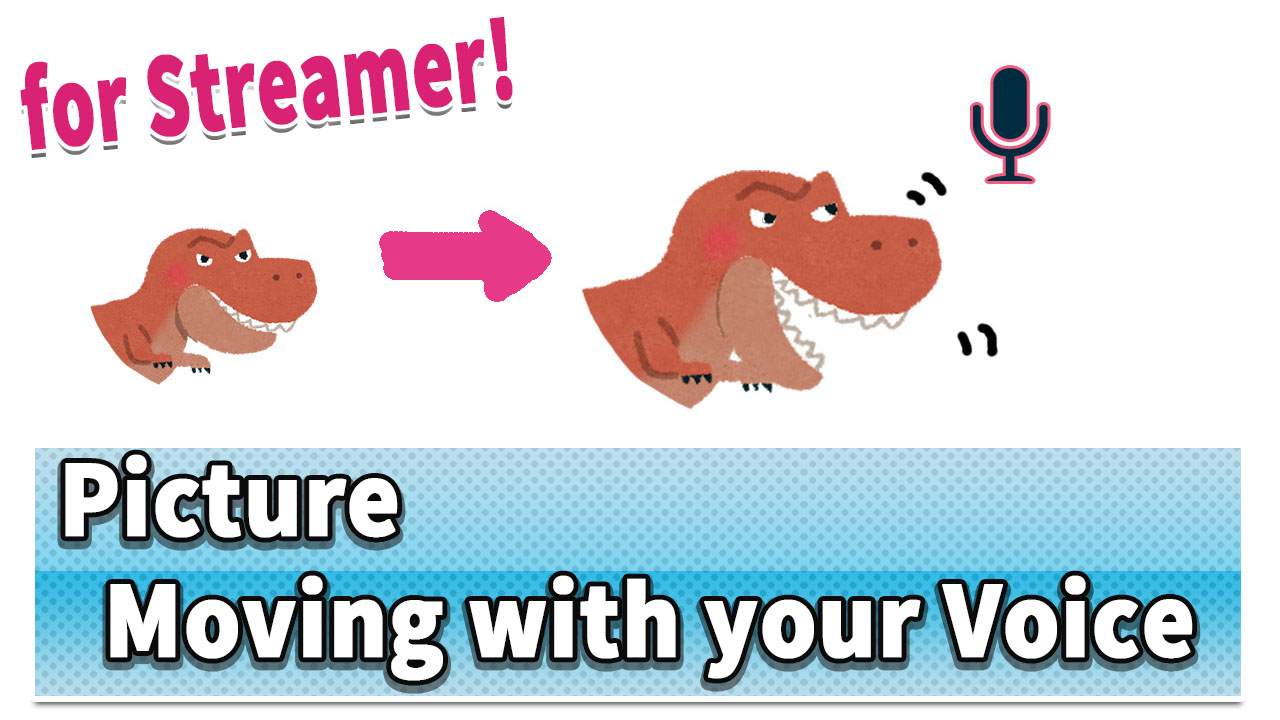
By linking Discord and OBS, it will be possible to detect the reaction of the microphone and display an illustration that changes according to the voice.
It will look like this when used for chat distribution
コラボ雑談等で使えば一気にバラエティー調に楽しくなると思います!
もちろん1人での配信でアバター的な活用も可能です
やりかた↓https://t.co/iHSUP9Kagj pic.twitter.com/zPtmLrXoso— なとり (@natori_jinrou) January 24, 2020
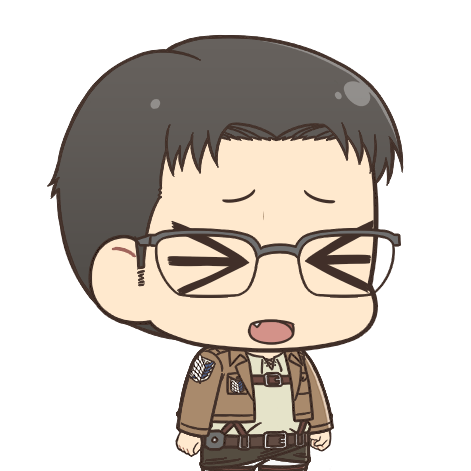
It’s a TV variety show
The method is very easy, prepare a few illustrations to move + You can use it just by inserting the code introduced in this article into OBS
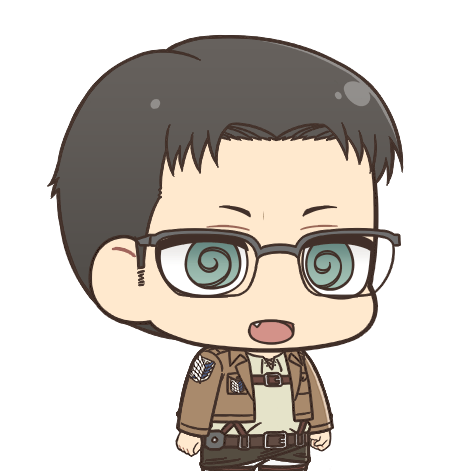
Today I would like to show you how to do it
* This method is based on the technology used in Vtuber’s neighborhood.
Add browser with OBS
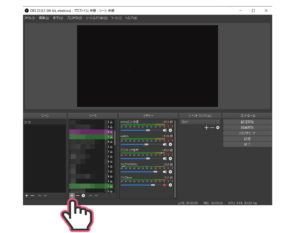
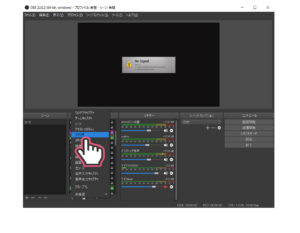
First of all, let ‘s add the source with OBS
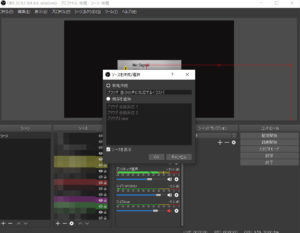
Press the + button at the bottom of the screen to select your browser
The browser can handle simple programs

I also used it for the first time
Create with an appropriate name (a name that can be recognized as reacting during conversation is good)
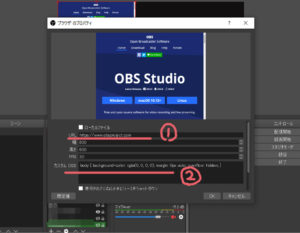
Then a screen like this will appear
By preparing these (1) URL and (2) custom CSS , it becomes a “decoration that displays an illustration that moves according to your voice” on the distribution screen .
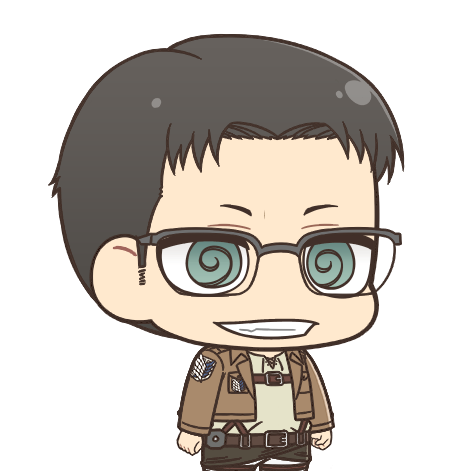
Let’s start in order
Code to insert
From here, we will create the code to actually use
Code ① URL
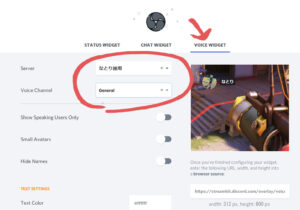
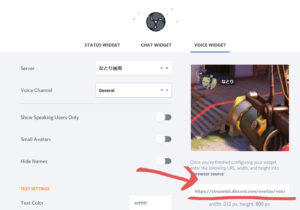
Create a dedicated address from the following site to link with Discord
In the above setting example, the signal of the microphone call in “General” of “Natori distribution channel” is detected.

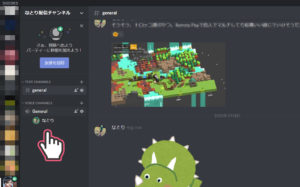
It’s a microphone signal when talking at the location of this image
After specifying the channel, copy the URL at the bottom right and enter it in the URL item of the browser.

This completes the preparation of the URL of code ①.
Paste this into your browser’s URL field and move on
Code ② Custom CSS
Next is the preparation of custom CSS
Custom CSS is OK if you fill in the items (1) to (3) in this code
Custom CSS
li.voice-state:not([data-reactid*="(1) discord charactorID"]) { display:none; }
.avatar {
content:url((2)image A);
height:auto !important;
width:auto !important;
border-radius:0% !important;
filter: brightness(80%);
}

.speaking {
-moz-animation: speak 1s linear 0s infinite normal;
-webkit-animation: speak 1s linear 0s infinite normal;
-o-animation: speak 1s linear 0s infinite normal;
-ms-animation: speak 1s linear 0s infinite normal;
border-color:rgba(0,0,0,0) !important;
filter: brightness(100%);
}

@keyframes speak {
0% {content:url((3) image B);}
100% {content:url((4)image C );}
}
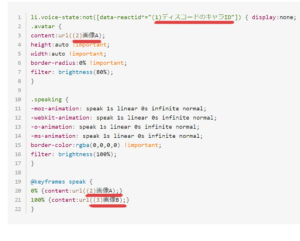
This is the image with a red line to make it easier to find (1)-(3)
Various characters such as character IDs and image urls have appeared.
This is not difficult either, so let’s fill it in order
Get Discord character ID
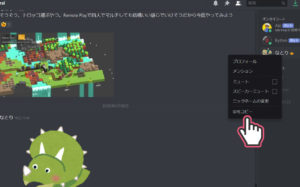
(1) Discord ‘s character ID is the specification of “who responds to Discord’s conversation” . Open the voice call channel used for distribution, right-click the corresponding member and copy the ID
32854475XXXXXX1 ← A long number will appear like this, so insert this in the (1) part of the code
If you don’t see a copy of your ID
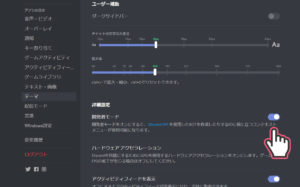
If you do not see the option to copy the ID even after right-clicking, change the Discord settings and turn on the developer mode.
Right click on it and you should see a copy of your ID
URL links for images A to C
The following are (2) ~ (4) Url of the image B of is

Let’s make OBS recognize the character image
In this code, it corresponds to the change of three images, and the role of each is like this
Image A Things that are always displayed on the screen
Image B and Image C It is displayed while themicrophones are reacting. Continue to switch between B and C every 0.5 seconds
Example: The image actually used in the video introduced at the beginning looks like this
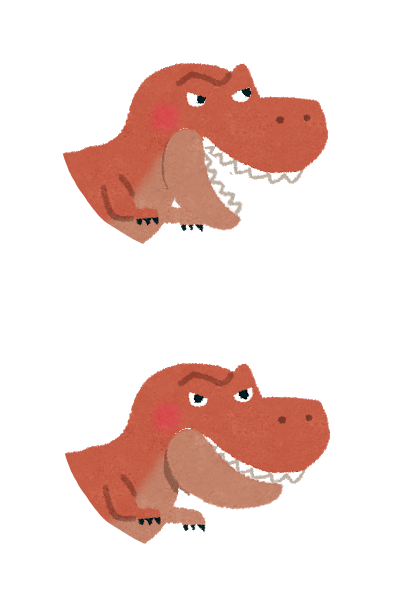
Image A, Image B … Still Tyrannosaurus
Image C … Tyrannosaurus with an open mouth
While the microphone is responding, images B and C are switched every 0.5 seconds , making the animation look like Tyrannosaurus opening his mouth.

It ’s simple, but it ’s pretty cute, isn’t it?
About the image to prepare
I will touch on the image a little
The image should be at least as long as the mouth is moving
The purpose is to make you feel like you are talking, so I think you should at least move your mouth. If you have some spare capacity, try moving the position of the black eye or slightly shifting the position of the image itself, and you will feel slapstick.
In this example, it was a simple illustration, so I thought, “I wonder if it doesn’t have to move that much,” so I used the same image as the image B when talking to the illustration image A in the standby state.
And I feel that this simplicity is enough
Some may wonder, “Isn’t the quality low if only two images are used in conversation animation?”
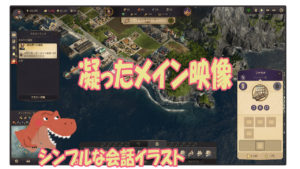
I will introduce a method to increase the number of images later for those who want to do it with more elaborate images, but since the main distribution is the back screen , I think that it is easier to see if the basics are as simple as this.
As you can see in the image above, I think most distributions will have a fancy main video like this. If the conversation illustration is elaborate, it will be difficult to see the back, so I think it is better to see it for the first time with a simple illustration from both aspects of labor and performance .
So let’s prepare a suitable image
How to set the URL of the conversation image

Let’s register the prepared image
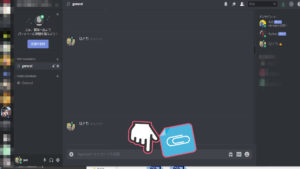
In order to refer to it on Discord, you need to drop the image to be used once in the chat field of Discord.
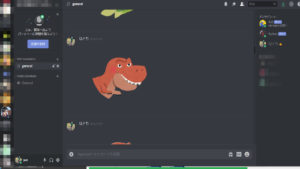
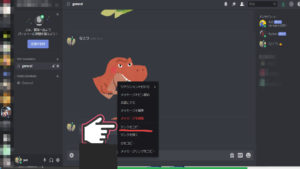
The image is displayed in the chat log like this
Then right-click on the image and copy the link
URL made of this is the URL of the image to stick to the source will be
Let’s fill in (2) URL of image A, (3) URL of image B, and (4) URL of image B with this procedure .

This completes the sauce
Completion example
I think the finished sauce looks like this (* is a hidden letter)
li.voice-state:not([data-reactid*="XXX631XXX"]) { display:none; }
.avatar {
content:url(https://cdn.discordapp.com/attachments/XXXXXXXXXXXXXXX/XXXXXXX/testA.png);
height:auto !important;
width:auto !important;
border-radius:0% !important;
filter: brightness(80%);
}

.speaking {
-moz-animation: speak 1s linear 0s infinite normal;
-webkit-animation: speak 1s linear 0s infinite normal;
-o-animation: speak 1s linear 0s infinite normal;
-ms-animation: speak 1s linear 0s infinite normal;
border-color:rgba(0,0,0,0) !important;
filter: brightness(100%);
}

@keyframes speak {
0% {content:url(https://cdn.discordapp.com/attachments/XXXXXXXXXXXXXXX/XXXXXXX/testA.png);}
100% {content:url(https://cdn.discordapp.com/attachments/XXXXXXXXXXXXXXX/XXXXXXX/testC.png);}
}
Put this in the custom CSS field of your OBS browser and you’re done
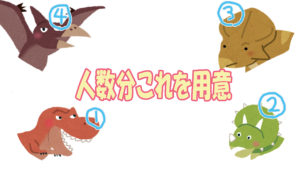
If there are multiple people, prepare for the number of people
By the way, the illustration that works with the above code is for one person. If you want to display illustrations for multiple people in chat distribution etc., please register the browsers for the number of people in the same procedure.
What you are doing is a very simple task, so it seems that it will be completed in a few minutes from the second time onwards.

The advantage of this method is that any number of people can handle it by preparing and setting an image.
Summary
Now you have the effect of a pico-pico moving illustration when you speak while participating in the specified voice channel of Discord.
You can use it for chat distribution, and of course you can use it for one person’s distribution and use it like a simple Vtuber.
・Try to get enthusiastic about important collaboration distribution
・Try to display a character that matches the theme of the game as an avatar

Various uses!
That’s all for today’s introduction of “For distributors! Let’s add the effect of illustrations that move when you talk by linking Discord and OBS” .



コメント